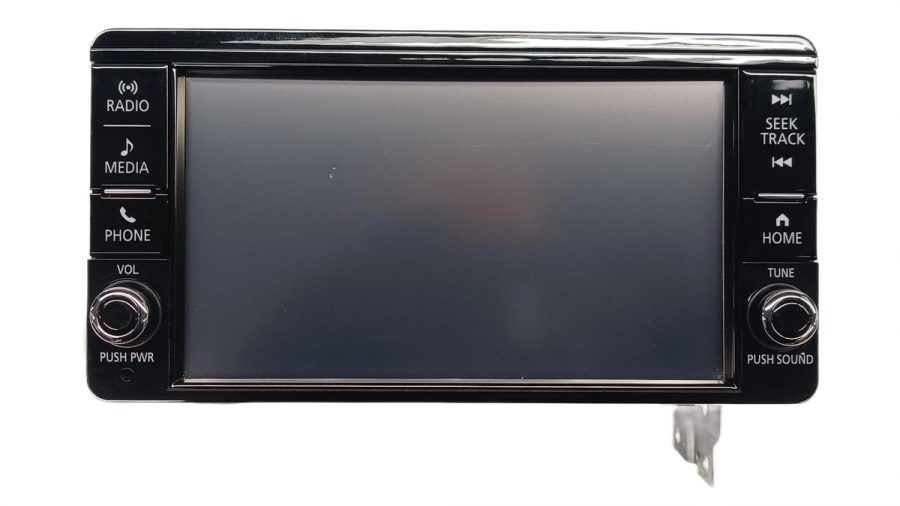
What Comes Stock in the 2018 Outlander Audio System
Tools and Materials You’ll Need
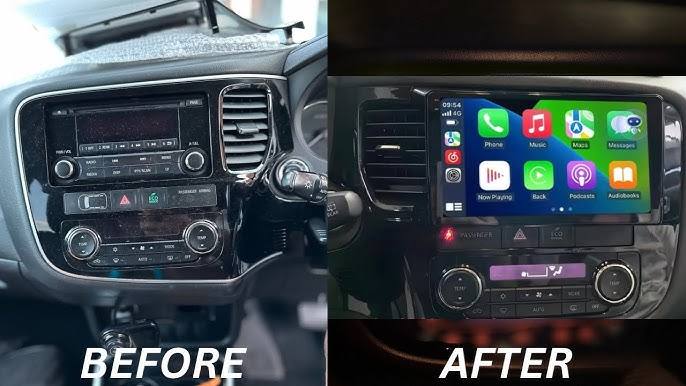
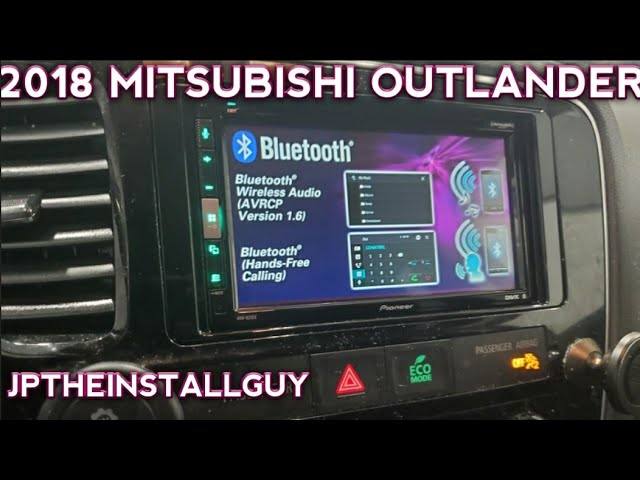
Choosing the Right Aftermarket Head Unit
Step-by-Step: Removing the Factory Head Unit
Wiring the New Head Unit Correctly
This step is where many DIY installs go wrong. Plugging the harness adapter into the factory connector and then connecting it to your new receiver eliminates the need to cut factory wiring — always the preferred approach for a clean, reversible install. The Mitsubishi wiring harness adapter converts the factory plug to standard aftermarket wire colors. Match the adapter wires to your receiver’s harness using the included wiring diagram. In most cases: – Yellow = constant 12V (memory) – Red = ignition-switched 12V (accessory) – Black = ground – Blue = power antenna or amplifier turn-on If your 2018 Outlander has the Rockford Fosgate premium system, there’s a factory amplifier in the rear of the vehicle. Without a specific bypass or integration harness, you’ll lose audio output after swapping the head unit. In this case, you either need a LOC (line output converter) to integrate with the amp, or a compatible harness that sends signal correctly to the factory amp while the new head unit acts as the source. Many owners planning a full audio upgrade — adding their own aftermarket amplifier and speakers — simply bypass the factory amp entirely and run new speaker wire directly to the door speakers.Retaining Steering Wheel Audio Controls
The 2018 Outlander’s factory steering wheel controls won’t automatically work with an aftermarket head unit. A steering wheel control interface like the PAC SWI-RC reads the resistance signals from the factory steering wheel buttons and translates them into commands the new receiver understands. Setup involves connecting the interface to your receiver’s accessory input and programming it by holding each button while the unit learns the signal. The process takes about 10 minutes but is worth it — losing steering wheel controls on a daily driver is genuinely annoying.Upgrading the Door Speakers
The factory speakers in the 2018 Outlander are functional but compressed-sounding, especially at higher volumes. Replacing them is a noticeable improvement even without an amplifier. The front doors use 6.5-inch speakers in most trims. The rear doors also accept 6.5-inch units. Confirm the mounting depth before ordering — some aftermarket speakers have deeper baskets that can contact the window regulator. When swapping door speakers, you’ll need to remove the door panel. This involves prying off the armrest trim, removing screws beneath it (often hidden under small plastic caps), and carefully releasing the panel clips. The window switch harness disconnects by pressing its release tab. If you’re removing the rear seats to improve access or run new speaker wire cleanly, understanding how to remove a car back seat safely can make the job considerably easier and protect the upholstery in the process.Common Problems During Installation
No sound after install: Most often caused by incorrect wiring or a retained factory amp not receiving signal. Double-check harness connections and verify the amp turn-on wire is connected. Backup camera not working: Either the camera signal isn’t connected to the new head unit’s camera input, or the trigger wire isn’t set correctly in the receiver’s settings. Most aftermarket units need the camera trigger set to reverse signal in the system menu. Steering wheel controls not responding: The SWI interface needs to be programmed after install. It won’t work automatically out of the box. Display doesn’t fit flush: The dash kit may be the wrong year or trim. Double-check fitment before forcing anything. Some 2018 Outlander builds have slightly different trim dimensions depending on the market. Static or alternator whine through speakers: Usually a ground loop issue. Ensure the receiver is grounded to bare metal, not a painted surface. A ground loop isolator can help if the problem persists.Safety Note on Electrical Work
Always disconnect the negative battery terminal before working with the vehicle’s wiring. The 2018 Outlander’s airbag system has capacitors that hold charge briefly after disconnection, so wait at least 10 minutes before disturbing any trim near the steering wheel or dashboard. Never force connectors — if a plug doesn’t seat easily, check the orientation before applying more pressure.Comparison: Upgrade Scope Options
| Upgrade Level | What's Involved | Approximate Complexity | Typical Result |
|---|---|---|---|
| Head unit only | Replace receiver, retain stock speakers | Low–Medium | Better connectivity, basic sound improvement |
| Head unit + speakers | Swap receiver and door speakers | Medium | Noticeably improved clarity and volume |
| Full system (amp + sub) | New receiver, speakers, amp, subwoofer | Medium–High | Significant bass and overall audio upgrade |
| Premium Rockford bypass | Remove factory amp, run full aftermarket system | High | Complete clean slate audio build |
Frequently Asked Questions
Does the 2018 Mitsubishi Outlander support Apple CarPlay from the factory? It depends on trim. The ES base trim does not include Apple CarPlay. The SE, SEL, and GT trims have smartphone connectivity through Mitsubishi Connect, but it’s wired and limited compared to full CarPlay. Upgrading to an aftermarket head unit gives you wireless CarPlay and Android Auto if you choose a compatible unit. What size head unit fits the 2018 Outlander? The 2018 Outlander has a double-DIN opening. Any aftermarket double-DIN head unit will fit the opening with the correct Mitsubishi-specific dash kit installed. Units with 8-inch or 9-inch displays are popular choices for this application. Will replacing the head unit void my 2018 Outlander warranty? Under the Magnuson-Moss Warranty Act in the U.S., a dealer cannot void your vehicle warranty simply because you installed an aftermarket stereo, unless they can prove the modification caused the specific failure being claimed. However, if the stereo install causes an electrical fault, that fault may not be covered. Using a proper wiring harness adapter — rather than cutting factory wires — minimizes this risk. Do I need to reprogram anything after replacing the head unit? The new head unit itself requires initial setup (language, time, camera settings, Bluetooth pairing). If you use a steering wheel control adapter, it needs to be programmed to your specific buttons. No dealer reprogramming is typically required for a standard head unit swap on the 2018 Outlander. Can I keep the factory backup camera when upgrading the stereo? In most cases, yes. The factory camera signal can be routed to an aftermarket head unit that supports rear camera input. You’ll need a compatible video integration harness and may need to configure the camera trigger setting in the new receiver’s menu. Confirm the head unit you choose supports the Outlander’s camera signal type before purchasing. How long does a DIY stereo upgrade take on the 2018 Outlander? A basic head unit swap with steering wheel control integration typically takes 2–4 hours for a first-time installer working carefully. Adding door speaker replacement adds another 1–2 hours. If you’re dealing with the Rockford Fosgate premium system or running an amplifier, budget a full day. What’s the best way to improve bass without adding a separate subwoofer? A head unit with strong DSP (Digital Signal Processing) and a built-in high-power amplifier section can improve perceived bass through the factory speaker locations. Some aftermarket units also support bass enhancement settings that help in factory speaker configurations. For noticeable low-end improvement, though, a compact underseat subwoofer like the Kicker 46HS10 is a practical solution in the Outlander’s cabin without major cutting or mounting work.Upgrading the 2018 Mitsubishi Outlander stereo is a practical DIY project with a significant payoff in daily usability and sound quality. Use the correct dash kit and wiring harness adapter for a clean, reversible install. If your Outlander has the Rockford Fosgate premium system, research the amp integration step before buying components — that one detail determines whether the project goes smoothly or requires troubleshooting.